Last Update: 26 August 2025
Did you know that toilets account for roughly 15% of household water use in Australia, while bathrooms contribute another 20%? That means over a third of indoor water consumption comes from these areas alone, according to the Australian Bureau of Statistics. With water efficiency becoming increasingly important, even minor adjustments can make a big difference.
Having a smoothly operating toilet is crucial for conserving water and ensuring effective flushing. In many Australian households, if the toilet water level isn’t adjusted correctly, it can result in significant water wastage, lacklustre flushing, and higher utility bills.
Too high a water level can lead to constant running, bumping up your water bills. Conversely, if it’s too low, flushing might be weak, leading to blockages. Getting to know your toilet tank and adjusting it properly can help you maintain an efficient and cost-effective plumbing system at home.
Here’s what you need to know about how toilet water levels work, how to adjust them properly, and when to seek professional help.
How Toilet Water Level Works
The toilet tank plays a vital role in managing water levels, ensuring every flush is effective without overuse. Achieving the right balance means there’s enough water for a powerful flush, avoiding both overflow and waste.
Key Components Controlling Water Levels
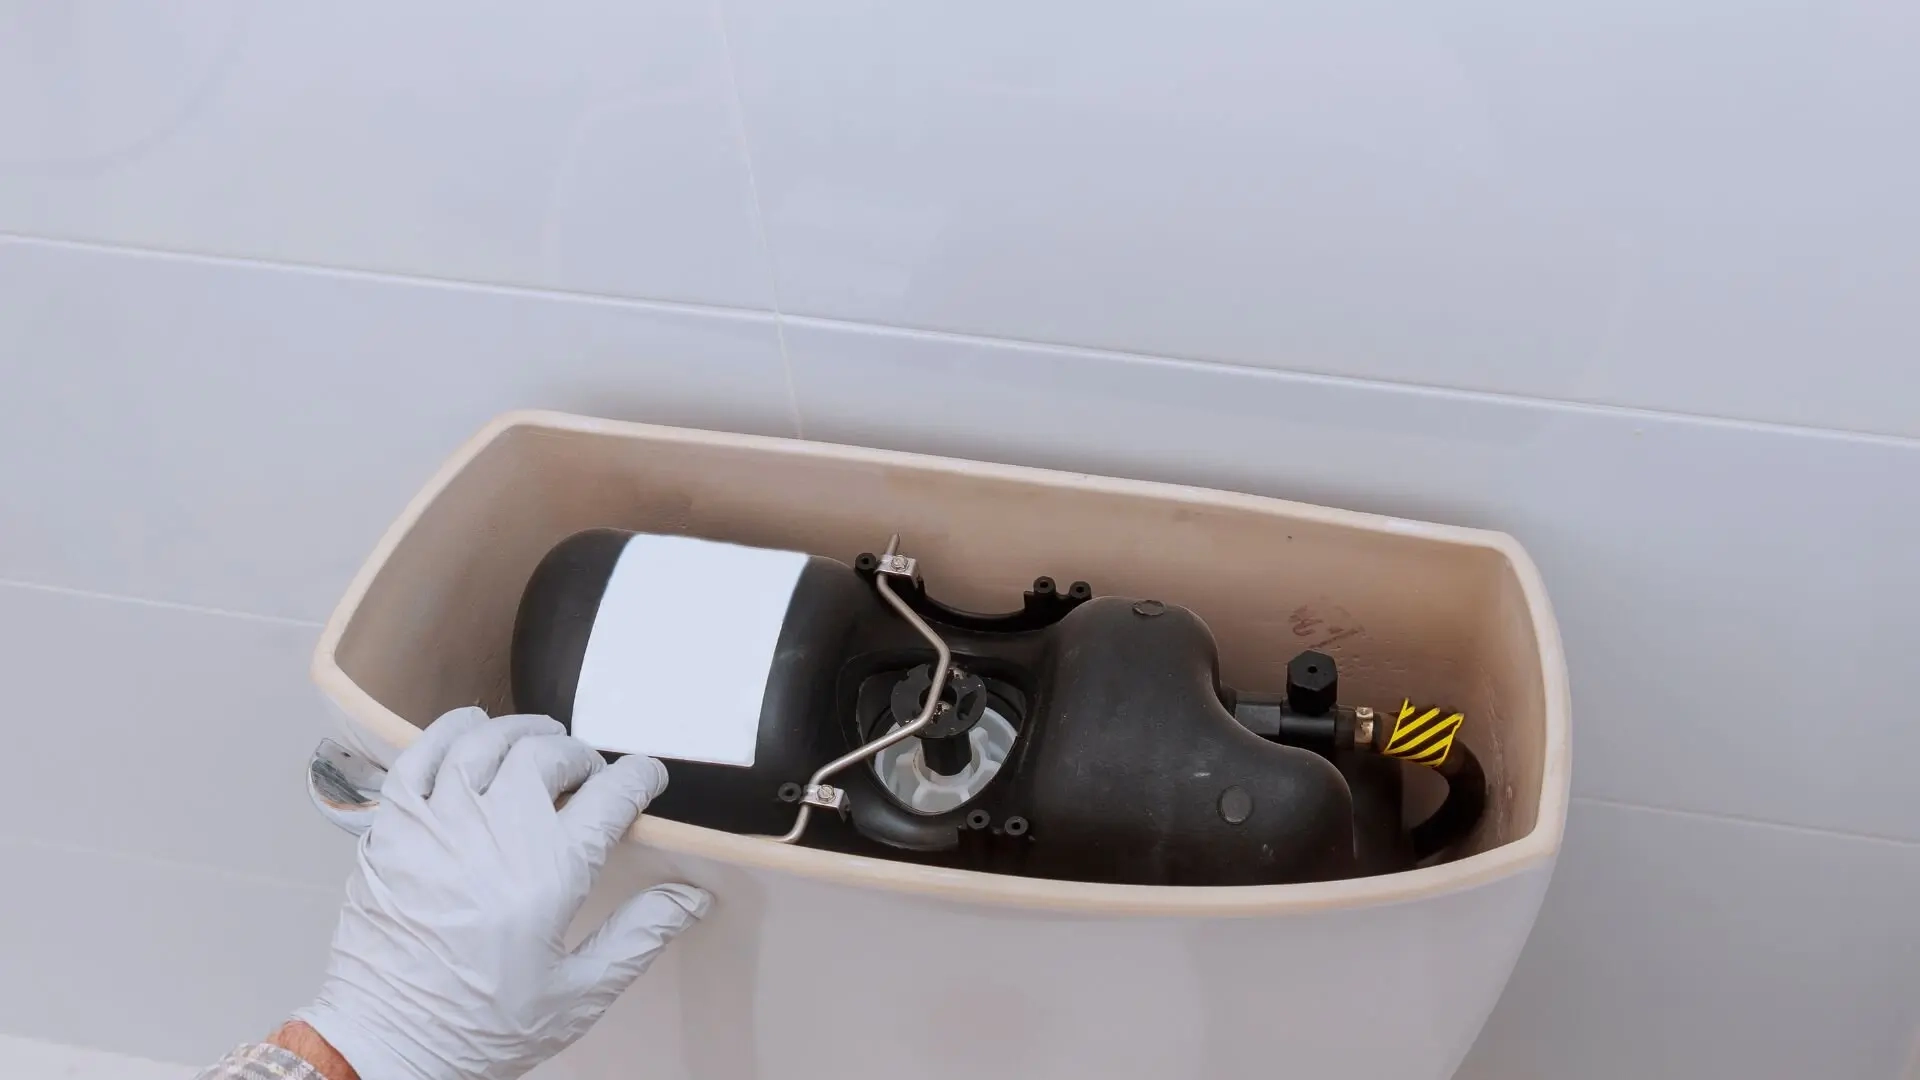
Your toilet tank contains several key components that work together to regulate water levels. Understanding how these parts function is crucial when you’re troubleshooting or adjusting them.
- Fill Valve – The fill valve controls the amount of water that enters the tank after a flush. It stops the water flow once the appropriate level is reached.
- Float – This mechanism determines when the fill valve shuts off by rising and falling with the water level.
- Overflow Tube – This tube prevents excessive water from flooding the tank by diverting excess water into the toilet bowl.
What Happens When Water Levels Are Incorrect?
When the water level is too high, it might continuously overflow into the tube, causing waste and bumping up your water bills. On the other hand, a low water level means your toilet won’t flush well, leaving waste and raising the risk of blockages.
Maintaining the correct water level is key to ensuring an efficient flush while reducing water consumption.
Need Help From a Specialist?
Identifying the Type of Toilet Fill Valve
Before you adjust the toilet’s water level, it’s important to identify the type of fill valve in the tank. Different toilets have different mechanisms, and getting it wrong could cause more problems.
Common Fill Valve Types in Australian Homes
There are three primary types of fill valves found in Australian homes:
Ballcock Fill Valve (Older Toilets)
This traditional system uses a ball float attached to a lever. When the water level drops after a flush, the ball lowers, opening the fill valve to allow water in from the water supply line. As the toilet float rises with the incoming water, it eventually lifts high enough to shut off the water flow, stopping the fill.
Float Cup Fill Valve (Modern Toilets)
A more compact and efficient design. A float cup moves along the fill valve shaft, controlling the water intake. The height of the float cup determines when the water stops filling. You can easily adjust the water level by changing the position of the float on the shaft.
Fluidmaster/Diaphragm Fill Valve (Common in Newer Toilets)
Uses an internal diaphragm to regulate water flow from the water supply. Known for durability, efficiency, and easy adjustments. Typically controlled by a screw or knob to adjust the water level precisely and ensure optimal flush performance.
Why Knowing the Fill Valve Type is Important
Each fill valve operates a little differently, and incorrect adjustments can result in excessive water use or poor flushing. Identifying the valve type ensures your adjustments are accurate, preventing future plumbing headaches.
Step-by-Step Guide to Adjusting the Toilet Water Level
Adjusting your toilet’s water level depends on the fill valve type. Follow these steps to make the proper adjustments.
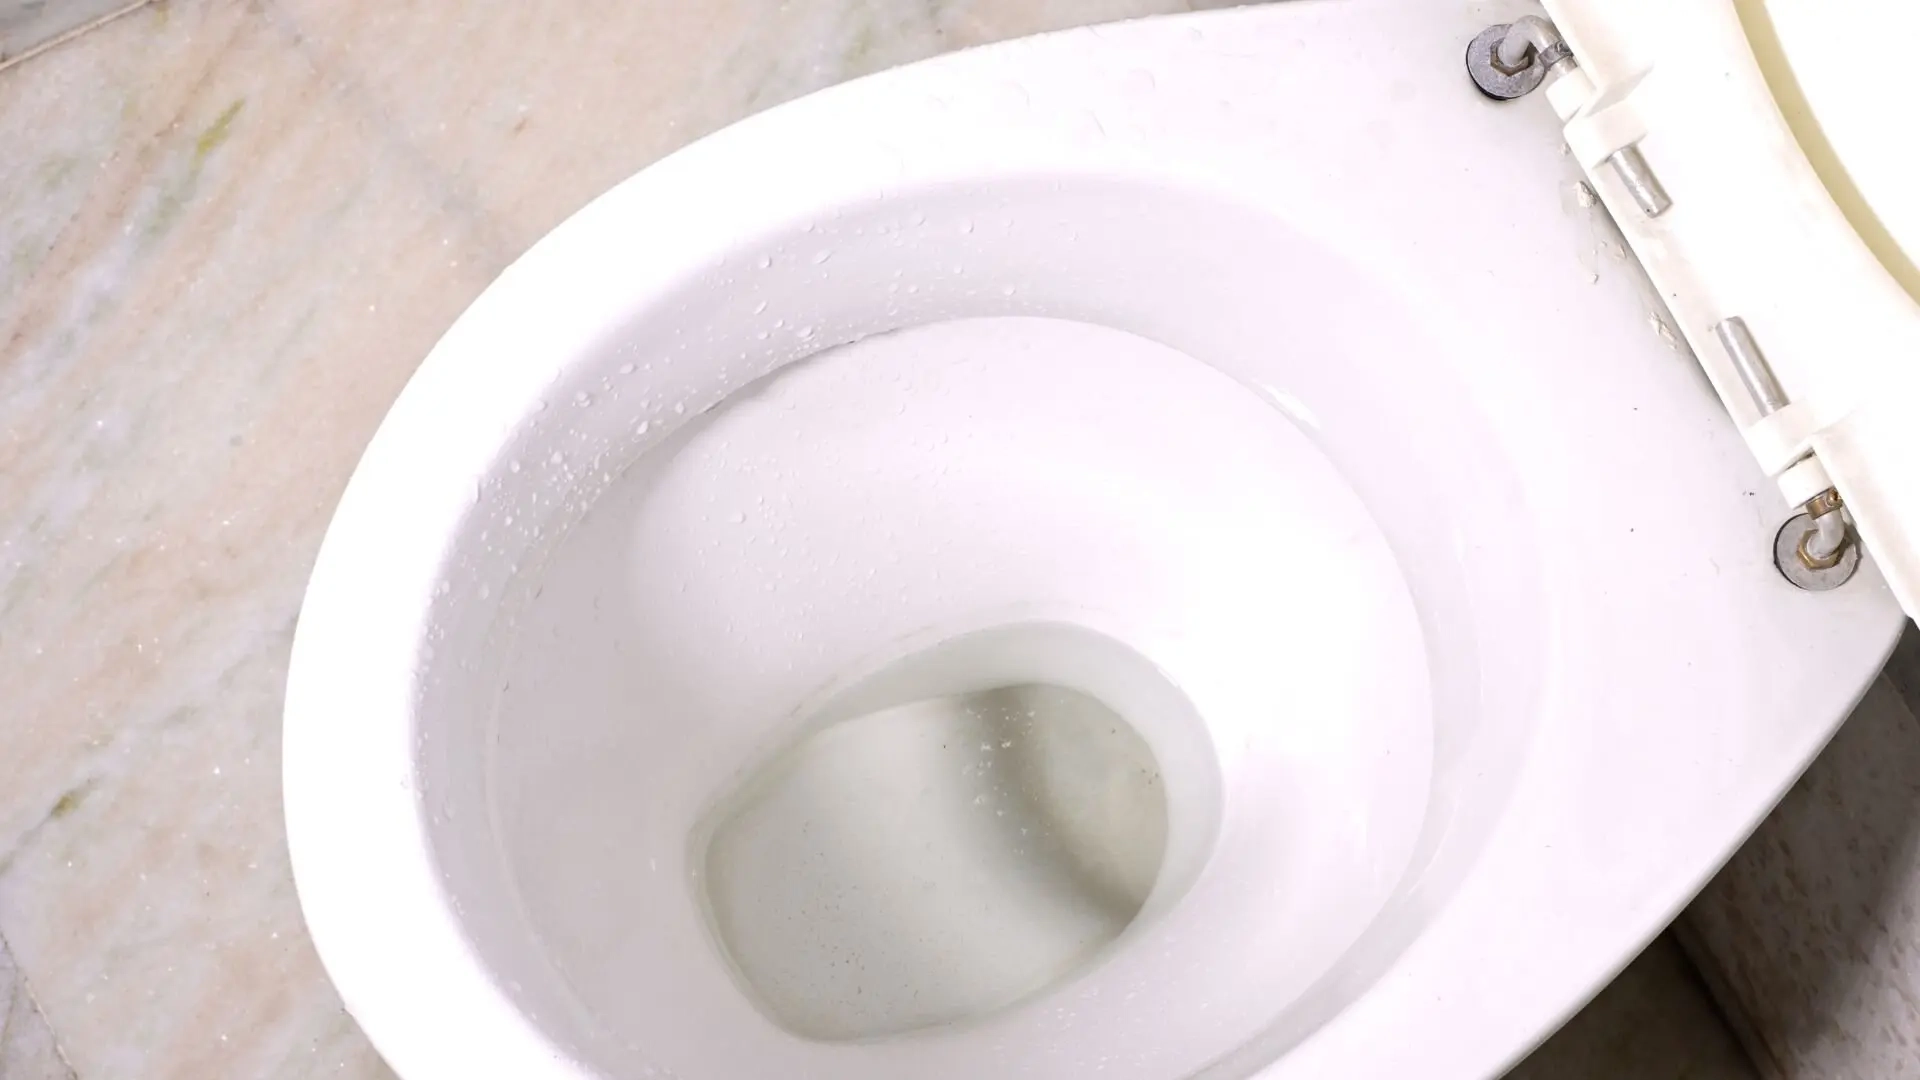
- Checking the Current Water Level
Remove the toilet cistern lid and inspect the water level. Look for the water line indicator inside the tank (usually a marking or line). If the water is too high or too low, adjustments are necessary to improve your toilet’s flushing power and avoid a weak flush. - Adjusting a Ballcock Fill Valve
Locate the adjustment screw on the float arm. Turn the screw clockwise to lower the water level or counterclockwise to raise it. If there is no screw, gently bend the float rod downward to decrease water intake or upward to increase it. This can help restore normal function to a slow-flushing toilet or a weak toilet flush. - Modifying a Float Cup Fill Valve
Find the adjustment screw or side clip near the float. Turn the screw clockwise to lower the float or counterclockwise to raise it. If using a clip, squeeze and slide the float up or down to set the correct level, ensuring the toilet can flush properly. - Tweaking a Fluidmaster Fill Valve
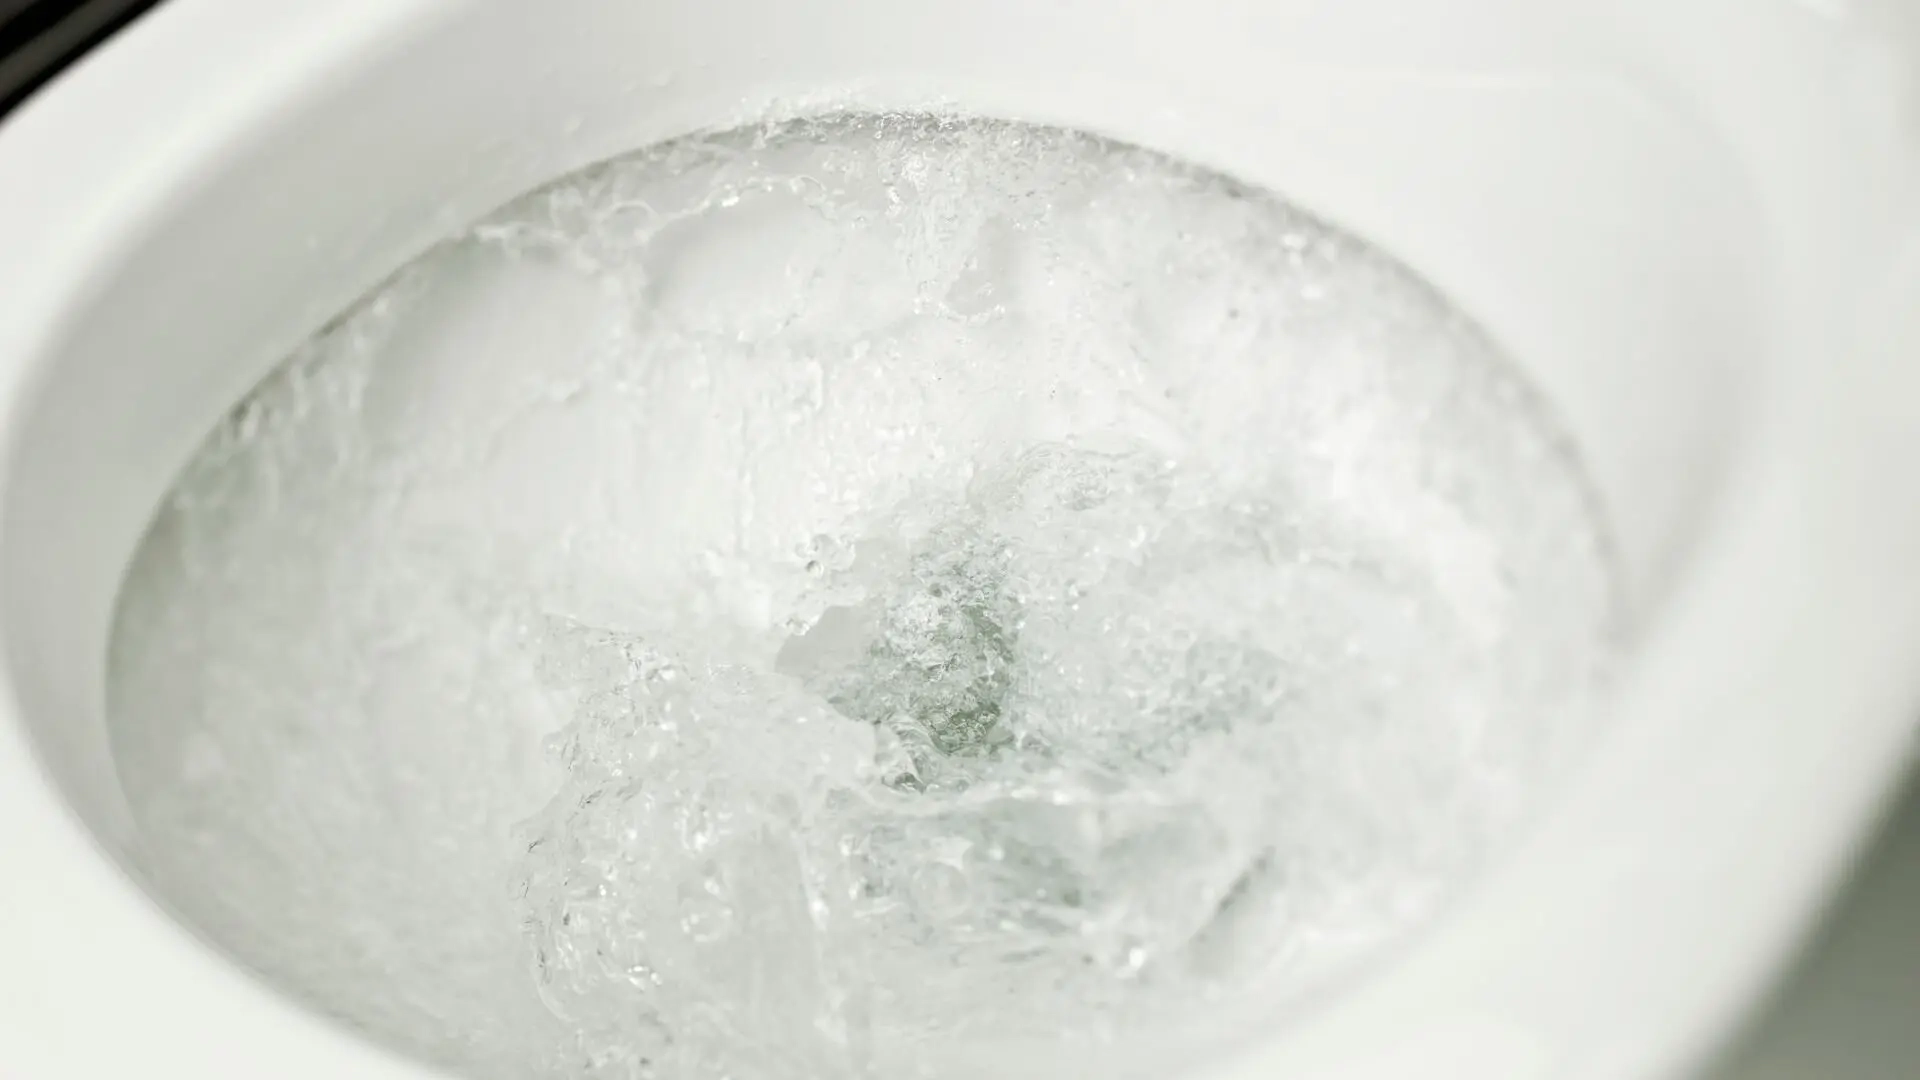
Locate the adjustment screw or knob on the top of the fill valve. Rotate clockwise to lower the water level or counterclockwise to increase it, helping boost flushing power and reduce chances of poor flushing performance. - Testing the Flush & Rechecking Water Level
Flush the toilet and observe the new water level. Ensure it aligns with the water line indicator inside the tank. If necessary, repeat the adjustments until the correct level is reached.
Common Issues & Troubleshooting After Adjustments
Even after making adjustments, some issues might persist. Here’s a guide to help you troubleshoot common problems effectively:
- Toilet Still Running
The fill valve may be faulty and need replacement. Check the flapper valve if it’s worn or not sealing properly, replace it. Also, ensure the refill tube is properly inserted into the overflow pipe. - Weak Flush or Water Too Low
Ensure the float is correctly adjusted—it may need further tweaking. A misaligned flush valve opening or a malfunctioning flush valve may reduce the toilet flush efficiency. You might also need to clean the toilet’s rim jets, which can be clogged with mineral deposits. - Water Overflowing into the Overflow Tube
The float may be set too high—lower it slightly. A faulty shut-off mechanism might need professional repair or replacement. Also, check for blockages in the plumbing system that could be causing issues with water flow.
Additional Tips
If you’re dealing with a clogged toilet bowl, try using a toilet auger to remove any blockages. In cases of toilet paper buildup or hidden debris, using a toilet brush can help clear minor obstructions. For deeper blockages in the drain line, such as those caused by buildup beyond the bowl, professional plumbing assistance may be required.
Signs You Need a Professional Plumber
Sometimes, DIY adjustments aren’t enough, and professional help is necessary, such as:
- Persistent leaks despite adjusting the fill valve
- Internal tank damage, such as cracks or corroded components
- Faulty plumbing connections leading to constant water wastage
Maintaining your flushing mechanism, rim jets, and water level is essential to ensure a strong, efficient flushing toilet and to prevent a weak or incomplete flush from becoming a recurring problem.
Risks of Improper Repairs
Incorrect adjustments can cause water damage, increased utility bills, and long-term plumbing issues. If you’re unsure about a repair, calling a professional plumber can prevent costly mistakes.
Keep Your Toilet Functioning Efficiently – Contact Silver Drains and Plumbing Today!
Maintaining the correct water level in your toilet is crucial for effective flushing, saving water, and reducing your bills. If you encounter water level issues, Silver Drains and Plumbing is here to help.
Why Choose Silver Drains and Plumbing?
- Expert toilet repairs – From fill valve adjustments to leak detection.
- Efficient water level corrections – Preventing unnecessary water waste.
- Reliable plumbing solutions – Ensuring long-term toilet functionality.
Don’t let a faulty toilet waste water and increase costs. Contact Silver Drains and Plumbing today for expert assistance and keep your plumbing in peak condition!
Published by: Kamran Khan26 August 2025